How to Use the Excel Keyboard Shortcut to Insert a Row on Windows and Mac
To insert a row in Excel instantly, use the following shortcuts:
- Windows Ctrl + Shift + + (Plus sign)
- macOS Command + Shift + +
- Laptop Ctrl + Shift + = (Since the plus sign shares a key with equals)
Pro Tip: Press Shift + Space to select the entire row first. This ensures the new row is inserted immediately without opening a dialog box.
What Is the Fastest Keyboard Shortcut to Insert a Row in Excel?
Efficiency in Excel often comes down to minimizing the transition between your keyboard and mouse. For most users, the universal command to add a new row is Ctrl + Shift + + . On a standard keyboard with a numeric keypad, you can simply use Ctrl and the + key on the numpad. However, on most modern keyboards, the plus sign is located on the same key as the equals sign (=), necessitating the use of the Shift key.
When you use this shortcut while a single cell is active, Excel doesn't automatically know if you want to insert a row, a column, or simply shift cells. Consequently, it triggers the "Insert" dialog box. While this is functional, it adds an extra step—requiring you to use the arrow keys or mouse to select "Entire Row" and press Enter. According to Microsoft Support , these shortcuts are designed to provide accessibility and speed, but their behavior changes based on your current selection.
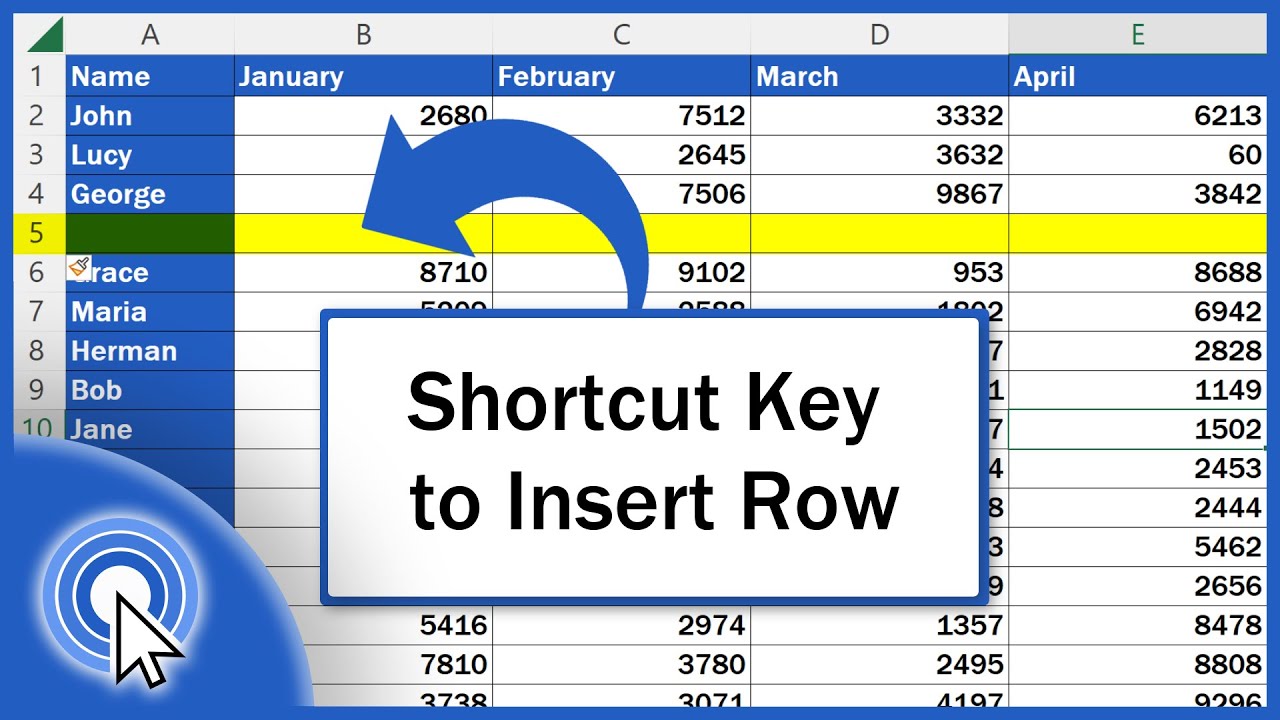
Image source: YouTube
For macOS users, the logic remains nearly identical, though the modifier key changes. You will use Command + Shift + + . It is important to note that in older versions of Excel for Mac, Ctrl + I was sometimes used for insertion, but in modern iterations, that shortcut is strictly reserved for italicizing text. Sticking to the Shift + Plus combination ensures compatibility across the latest versions of the software.
Why You Should Select the Entire Row Before Using the Shortcut
If you want to bypass the annoying "Insert" dialog box entirely, the most effective workflow involves a two-step keyboard sequence. This method is widely considered one of the best practices by power users on platforms like Superuser because it eliminates any ambiguity for the Excel engine.
Press Shift + Spacebar . This instantly highlights the entire row where your cursor is currently located.
Press Ctrl + Shift + + . Because the row is already selected, Excel assumes you want to insert a new row of the same dimensions and does so immediately.
This "Selection-First" workflow is notably innovative because it works identically for columns (using Ctrl + Spacebar to select the column first). By mastering this sequence, you can manage large datasets without ever touching your mouse. This method also ensures that any formatting from the row above is typically carried down to the new row, maintaining the visual integrity of your spreadsheet.
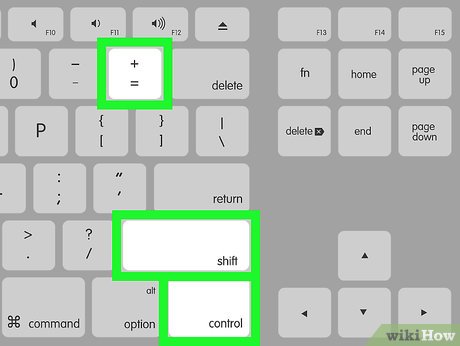
Image source: wikiHow
How to Insert a Row on Laptops Without a Numeric Keypad
One of the most common frustrations for laptop users is the lack of a dedicated numeric keypad. On a full-sized keyboard, the + key on the numpad is a single-action key. On a laptop, the + sign is almost always the secondary function of the = key. This means that the shortcut Ctrl + + actually becomes Ctrl + Shift + = .
If you find that your shortcut isn't working, check the following:
- The Fn Key: Some compact laptops require you to hold the Fn (Function) key to access certain symbols.
- NumLock Status: If you are using a laptop with a "hidden" numpad (where letters like J, K, and L act as numbers), ensure NumLock is configured correctly.
- Regional Layouts: On some European or international keyboards, the plus sign may be located in a different position, requiring a different modifier combination.
Using Ribbon Sequences and Legacy Alt Shortcuts
While the Ctrl shortcuts are faster for muscle memory, "Ribbon Sequences" are exceptionally strong for users who prefer a visual path or those who find multi-key combinations difficult to press simultaneously. These are not "shortcuts" in the traditional sense of holding keys down; rather, they are a series of taps.
The Modern Ribbon Sequence
In modern versions of Excel (including Microsoft 365 and Excel 2026), you can navigate the "Home" tab to insert rows using this sequence:
- Press and release Alt (This activates the "Key Tips").
- Press H (for the Home tab).
- Press I (for the Insert menu).
- Press R (for Insert Sheet Rows).
The beauty of this method is that you do not need to hold the keys. You simply type Alt, H, I, R in succession. This is a top-tier option for those who may have limited dexterity or are using a keyboard where certain modifier keys are sticky.
The Legacy Alt Shortcut
Long-time Excel users often rely on the legacy sequence Alt + I , then R . This dates back to the pre-2007 versions of Excel but is still supported for backward compatibility. When you press Alt + I , you may see a small popup notification in Microsoft 365 indicating that you are using an Office Menu Key shortcut. Despite the warning, the command still functions perfectly and remains a popular choice for veterans of the software.
Inserting Multiple Rows at Once Using Only Your Keyboard
A significant advancement in your productivity occurs when you learn to insert rows in bulk. Excel follows a simple logic: it will insert the exact number of rows that you currently have selected. If you need to add five rows, you don't need to repeat the shortcut five times.
Follow this high-speed workflow for bulk insertion:
- Navigate to the row where you want to start the insertion.
- Press Shift + Spacebar to select the current row.
- Hold Shift and use the Up or Down Arrow keys to highlight the number of rows you wish to add.
- Press Ctrl + Shift + + .
Excel will instantly push the existing data down and create a blank space matching your selection. If you realize you need even more rows after the first insertion, you can use the F4 key. In Excel, F4 (or Ctrl + Y ) repeats the last action performed. This is a highly impactful trick for adding non-contiguous rows or expanding a selection quickly.
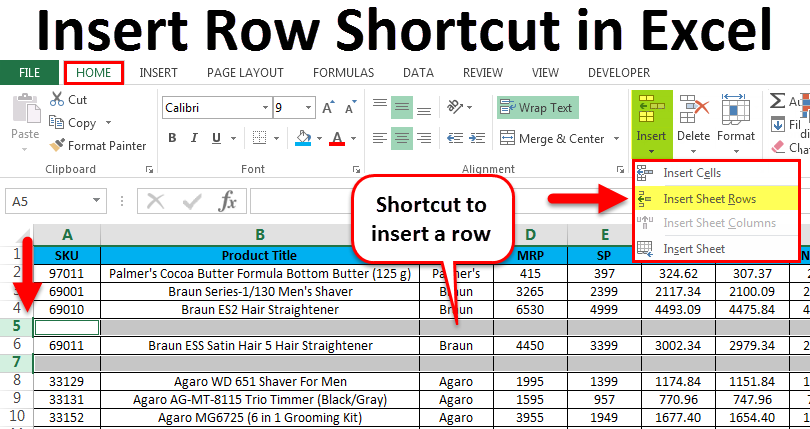
Image source: EDUCBA
How the Insert Shortcut Changes When Working in Excel Tables
Working within an official Excel Table (created via Ctrl + T ) changes the behavior of insertion shortcuts. In a standard range, inserting a row affects every column across the entire worksheet. However, in a Table, Excel is "container-aware."
When your cursor is inside a Table and you press Ctrl + Shift + + , Excel will typically insert a Table Row . This is a major improvement for data integrity because it does not shift cells that are located to the left or right of the table. This prevents the common "data misalignment" issue where notes or auxiliary tables accidentally get pushed down along with your primary data set.
If you specifically need to insert a full worksheet row while inside a table, you must first select the entire worksheet row (Shift + Spacebar) and then use the insertion shortcut. Understanding this distinction is vital for maintaining clean, professional workbooks.
How to Insert Copied Cells as a New Row
A common pain point for users is trying to move data. If you copy a row and simply "Paste" it, you will overwrite whatever data was already there. To "Push and Paste," you need the Insert Copied Cells command.
The keyboard workflow for this is as follows:
- Select the row you want to move and press Ctrl + C to copy it.
- Move your cursor to the row where you want to insert the data.
- Press Ctrl + Shift + + .
Instead of opening a blank row, Excel will "insert" the clipboard contents, automatically shifting the existing rows downward to make room. This is a top-rated technique for reorganizing lists or financial models without losing existing information.
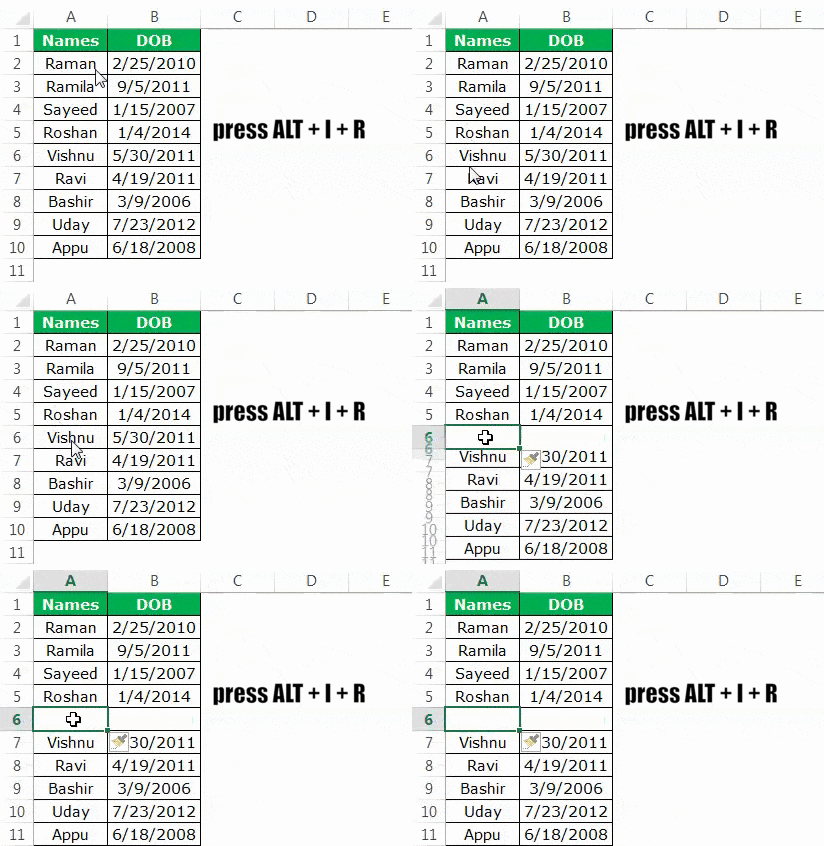
Image source: WallStreetMojo
Customizing the Quick Access Toolbar for One-Key Insertion
For users who perform row insertions hundreds of times a day, even a three-key shortcut might feel slow. You can optimize your environment by adding the "Insert Sheet Rows" command to the Quick Access Toolbar (QAT) , which is the small row of icons above or below the Ribbon.
To set this up:
- Right-click the Insert button on the Home tab of the Ribbon.
- Select Add to Quick Access Toolbar .
- Look at the position of the icon. If it is the 4th icon from the left, your new shortcut is Alt + 4 .
This reduces a complex command to a simple two-key tap. You can rearrange the icons in the QAT settings to ensure your most-used commands are assigned to Alt + 1 , Alt + 2 , and so on. This level of customization sets a high standard for professional Excel workflows.
Troubleshooting Common Shortcut Failures
Sometimes, the Ctrl + Shift + + shortcut simply refuses to work. This is rarely a bug in Excel and is usually caused by external factors. According to community discussions on Reddit , the most common culprits include:
- Shortcut Hijacking: Other software, such as screen recorders (OBS), GPU utilities (Nvidia Overlay), or communication tools (Discord), may have "globally" claimed that key combination. Try closing background apps to see if the shortcut returns.
- Worksheet Protection: If the "Insert Rows" permission was unchecked when the sheet was protected, the shortcut will be greyed out and non-functional.
- Filtered Ranges: If you are working in a filtered list, Excel may prevent row insertion to avoid corrupting the hidden data structure. Clear your filters before trying again.
- Multiple Sheets Selected: If you have "grouped" multiple tabs (by holding Ctrl and clicking tab names), some insertion features become disabled.
Comparison Table: Windows vs. Mac vs. Web
| Action | Windows Shortcut | Mac Shortcut | Excel for Web |
|---|---|---|---|
| Insert Row (Dialog) | Ctrl + Shift + + | Cmd + Shift + + | Ctrl + Shift + + |
| Select Row | Shift + Space | Shift + Space | Shift + Space |
| Insert Row (Instant) | Shift + Space, then Ctrl + Shift + + | Shift + Space, then Cmd + Shift + + | Ctrl + Shift + + |
| Repeat Last Insert | F4 or Ctrl + Y | Cmd + Y | Ctrl + Y |
Frequently Asked Questions
Key Takeaways for Excel Row Insertion
- Primary Shortcut: Use Ctrl + Shift + + on Windows or Cmd + Shift + + on Mac for the fastest results.
- Selection First: Always press Shift + Space before inserting to bypass the dialog box and save time.
- Laptop Logic: Remember that Shift is required to access the + sign on most laptop keyboards (Ctrl + Shift + =).
- Bulk Actions: Highlight multiple rows before using the shortcut to insert that exact number of rows at once.
- Repeat Command: Use the F4 key to instantly repeat your last row insertion as many times as needed.
- Table Awareness: Shortcuts inside an Excel Table (Ctrl + T) only affect the table itself, protecting adjacent data.
- Legacy Support: The Alt, I, R sequence remains a functional alternative for those who prefer tap-sequences over multi-key holds.
To start improving your workflow today, try using the Shift + Space followed by Ctrl + Shift + Plus sequence ten times in a row to build the muscle memory needed for professional-grade speed.
-
Topic: How do I insert a new row in Excel via the keyboard?https://superuser.com/questions/869946/how-do-i-insert-a-new-row-in-excel-via-the-keyboard
-
Topic: Inserting row with just one click or shortcut? : r/excelhttps://www.reddit.com/r/excel/comments/63swxx/inserting_row_with_just_one_click_or_shortcut/
-
Topic: Is there a shortcut to insert a row? - Microsoft Q&Ahttps://learn.microsoft.com/en-us/answers/questions/5229022/is-there-a-shortcut-to-insert-a-row

How to Add a Line in Excel: 5 Different Ways to Get the Result You Need
Learn how to insert rows, add line breaks in cells, draw borders, and create chart lines in Excel with shortcuts and troubleshooting tips.


How to Drag Down a Formula in Excel and Fill Entire Columns Instantly
Learn how to drag formulas in Excel using the fill handle, shortcuts, and tables. Master large datasets and fix common auto-fill errors today.

How to Insert Bullet Points in Excel Using Shortcuts and Formulas
Learn how to insert bullet points in Excel using shortcuts, formulas, and custom formatting for Windows, Mac, and laptops without a numeric keypad.