How to Remove the White Background in Photoshop Using 5 Proven Methods
The fastest way to remove a white background is using the "Remove Background" Quick Action . Simply unlock your layer in the Layers panel, open the Properties panel (Window > Properties), and click the "Remove Background" button under the Quick Actions section. This uses Adobe Sensei AI to automatically create a layer mask, isolating your subject in seconds.
Achieving a clean, transparent background is a fundamental skill for any designer, whether you are preparing product photos for e-commerce or isolating a logo for a website. While the white background is a standard in studio photography, it often limits how you can use the image in complex layouts. In recent years, Adobe has integrated sophisticated machine learning to make this process nearly instantaneous, yet professional results still require a nuanced understanding of edge refinement and luminosity.
This guide explores the most effective techniques for removing white backgrounds, ranging from one-click AI solutions to advanced channel-based selections. We will also address common technical hurdles, such as the persistent "white halo" effect and the frustration of locked background layers, ensuring your final exports are crisp and ready for any digital environment.
What Is the Fastest Way to Remove a White Background?
For most modern users, speed is the priority. Adobe has prioritized this by introducing AI-driven tools that analyze the contrast between the subject and the background. These tools are particularly effective when the subject has a clear silhouette, such as a person or a well-lit product.
Using the AI-Powered Remove Background Button
The "Remove Background" button is a top-tier option for high-contrast images. Unlike older tools that required manual tracing, this feature uses Adobe Sensei to identify the focal point of the image and hide everything else using a non-destructive layer mask.
- Unlock the Layer: Open your image and look at the Layers panel. If your layer is named "Background" with a lock icon, click the lock to convert it into a standard layer (Layer 0).
-
Open Properties:
Go to
Window > Propertiesto open the panel. - Execute Quick Action: Scroll down to the "Quick Actions" section and click Remove Background . Photoshop will analyze the image and apply a mask automatically.
- Refine the Mask: If the AI missed a few spots, select the Layer Mask thumbnail and use a black or white brush to hide or reveal pixels.
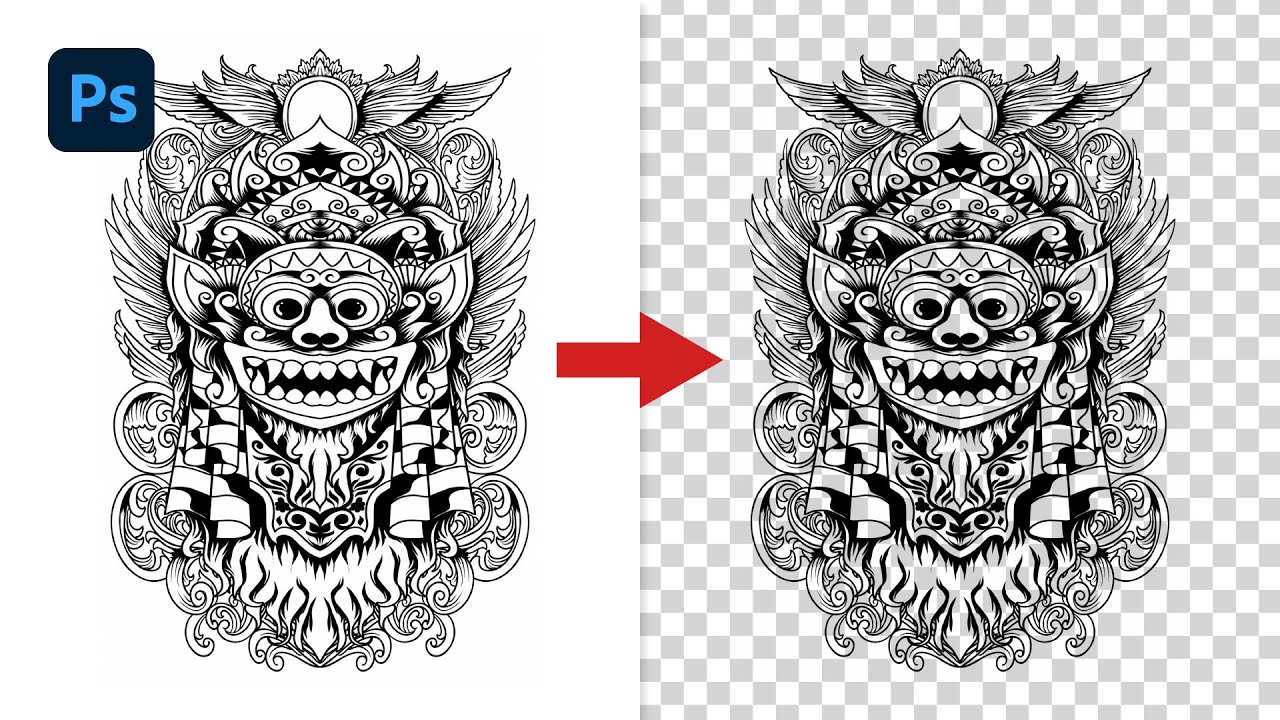
Image source: YouTube
The One-Click Magic Eraser Method
If you are looking for a "one-and-done" approach and don't mind a destructive editing workflow, the Magic Eraser tool is a popular choice. It functions similarly to the Magic Wand but deletes pixels immediately rather than creating a selection.
According to expert tool settings on Quora , a Tolerance setting of 30 is typically the standard starting point. If your subject has very light colors, you may need to lower this to 10 or 15 to prevent the tool from "eating" into your subject. Always ensure "Anti-alias" is checked to avoid the jagged, pixelated edges that often plague low-quality removals.
How to Remove White Backgrounds from Logos and Graphics
Logos present a unique challenge. They often feature "anti-aliasing," which is a slight blurring of the edges to make them look smooth on screen. Standard selection tools like the Magic Wand often fail to capture these semi-transparent edge pixels, leading to a "stair-stepping" or jagged effect when the logo is placed on a dark background.
The Professional Channel Selection Method
The Channel-based selection method ranks among the top techniques for graphics because it relies on luminosity (brightness) rather than color. This allows you to capture the subtle transparency of a logo's edges with mathematical precision.
- Navigate to Channels: Open the Channels panel (Window > Channels). You will see Red, Green, and Blue channels.
-
Select the RGB Channel:
Hold
Ctrl(Windows) orCmd(Mac) and click the thumbnail of the RGB channel . This creates a selection based on the brightness of the image. -
Invert the Selection:
Since you want the logo (the dark part) and not the white background, go to
Select > Inverse(Shift + Ctrl + I). - Apply the Mask: Go back to your Layers panel and click the "Add Layer Mask" icon at the bottom. The white background will vanish, leaving perfectly smooth edges.
As noted by Brendan Williams in his advanced tutorials , Channels are remarkably effective because they interpret the image as a grayscale map, making it easy to isolate pure white from the rest of the graphic.
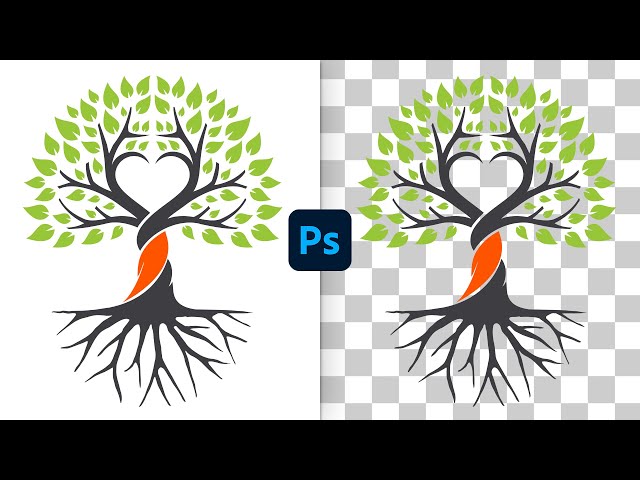
Image source: YouTube
Using the Color Range Command
The
Select > Color Range
command is another highly capable tool for graphics. It allows you to sample the white background with an eyedropper and adjust the "Fuzziness" slider. Increasing fuzziness expands the selection to include those tricky semi-transparent pixels at the edge of the logo, providing a much cleaner result than the Magic Wand.
How to Hide a White Background Without Deleting Pixels
Sometimes, you don't actually need to delete the background. You just need it to be invisible. This is particularly useful when working with images that have soft shadows. If you delete the white background, you often lose the shadow. Using "Blend If" allows you to keep the shadow while making the solid white transparent.
The Blend If Transparency Hack
This method is widely regarded as one of the best for preserving realism. It uses the layer's own brightness data to determine transparency dynamically.
- Open Blending Options: Double-click the empty space next to your layer name to open the Layer Style dialog box.
- Locate Blend If: At the bottom, you will see two sliders under "Blend If: Gray." Focus on the "This Layer" slider.
- Slide the White Tab: Drag the white slider (on the right) toward the left. You will see the white background start to disappear.
-
Split the Slider:
To create a smooth transition for shadows, hold
Alt(Windows) orOption(Mac) and click on the white slider. It will split in two. Drag the halves apart to feather the transparency.
This technique is a favorite in the Photoshop community on Reddit for handling complex product shots where a natural drop shadow is essential for a professional look.
Which Photoshop Method Should You Choose?
Choosing the right tool depends entirely on the complexity of your subject's edges and the contrast level of the image. Use the table below to determine the most effective approach for your specific project.
| Method | Best For | Speed | Edge Quality | Non-Destructive? |
|---|---|---|---|---|
| Quick Action (AI) | People, Animals, Products | Fastest | High | Yes (Mask) |
| Channels | Logos, Text, Graphics | Moderate | Superior | Yes (Mask) |
| Magic Eraser | Simple Shapes, Solid White | Fast | Moderate | No (Deletes) |
| Blend If | Preserving Shadows | Fast | Natural | Yes (Dynamic) |
| Pen Tool | Complex, Low-Contrast Edges | Slow | Perfect | Yes (Vector) |
How to Remove a White Background from a White Object
The "white-on-white" scenario—such as a white sneaker or a glass of milk on a white table—is where automated tools often fail. Because the color of the subject matches the color of the background, the AI cannot distinguish where one ends and the other begins.
The White-on-White Challenge
In these cases, color-based tools like the Magic Wand or Magic Eraser will "bleed" into your subject, deleting parts of the object you want to keep. To solve this, you must rely on edge detection and manual refinement rather than color sampling.
A Step-by-Step Strategy for Low Contrast Edges
When contrast is low, the Object Selection Tool (set to Lasso mode) is a strong contender. It allows you to roughly circle the object, and then Photoshop's algorithm looks for subtle texture changes to define the edge.
If the edge is still too blurry, a common professional trick is to apply a temporary Levels Adjustment Layer . Crank the contrast until the edge becomes visible, make your selection, and then delete the adjustment layer. This "cheats" the system by forcing contrast where it didn't previously exist, allowing you to create a precise mask before returning the image to its natural state.
Why Can't I Delete My Background?
One of the most common frustrations for beginners is pressing the "Delete" key and seeing a "Fill" dialog box appear instead of the background disappearing. This is not a bug; it is a result of how Photoshop handles specific layer types.
Fixing the Fill Dialog Box Error
This error occurs because the layer is locked as a "Background" layer. In Photoshop, a Background layer cannot have transparency. When you try to delete something, Photoshop assumes you want to fill that space with a color (usually the background color) because it has nowhere else to go.
To fix this, simply click the lock icon in the Layers panel. This converts the "Background" into "Layer 0," which supports transparency. Now, when you press delete, you will see the gray-and-white checkerboard pattern indicating a transparent area.
The Artboard Transparency Trap
Another common issue involves Artboards. You might successfully delete the white pixels and see the checkerboard in your layer thumbnail, but the main canvas still looks white. This happens because Artboards have their own background color setting.
To resolve this, select the Artboard name in the Layers panel, then go to the Properties panel . Under "Artboard Background Color," change the setting from "White" to "Transparent." This is a frequent point of confusion documented in Adobe Community forums .
How to Fix the "White Halo" Effect on Edges
Even a perfect selection can leave a 1-pixel white fringe around your subject. This "halo" is a tell-tale sign of amateur editing and becomes glaringly obvious when the subject is placed on a dark background.
Cleaning Up Jagged or Fringed Edges
Photoshop includes a specific set of tools designed to "choke" the edges of a mask to remove this fringe. The most direct method is
Layer > Matting > Defringe
. Setting this to 1 or 2 pixels will analyze the edge and replace the white pixels with colors sampled from the interior of your subject.
The Contract Selection Trick
A more proactive approach is to shrink your selection by a tiny amount before you ever create the mask. After making your initial selection (but before clicking the mask icon), go to
Select > Modify > Contract
. Enter a value of 1 or 2 pixels. This moves the "marching ants" slightly inside the subject, ensuring that no white background pixels are included in the final mask.
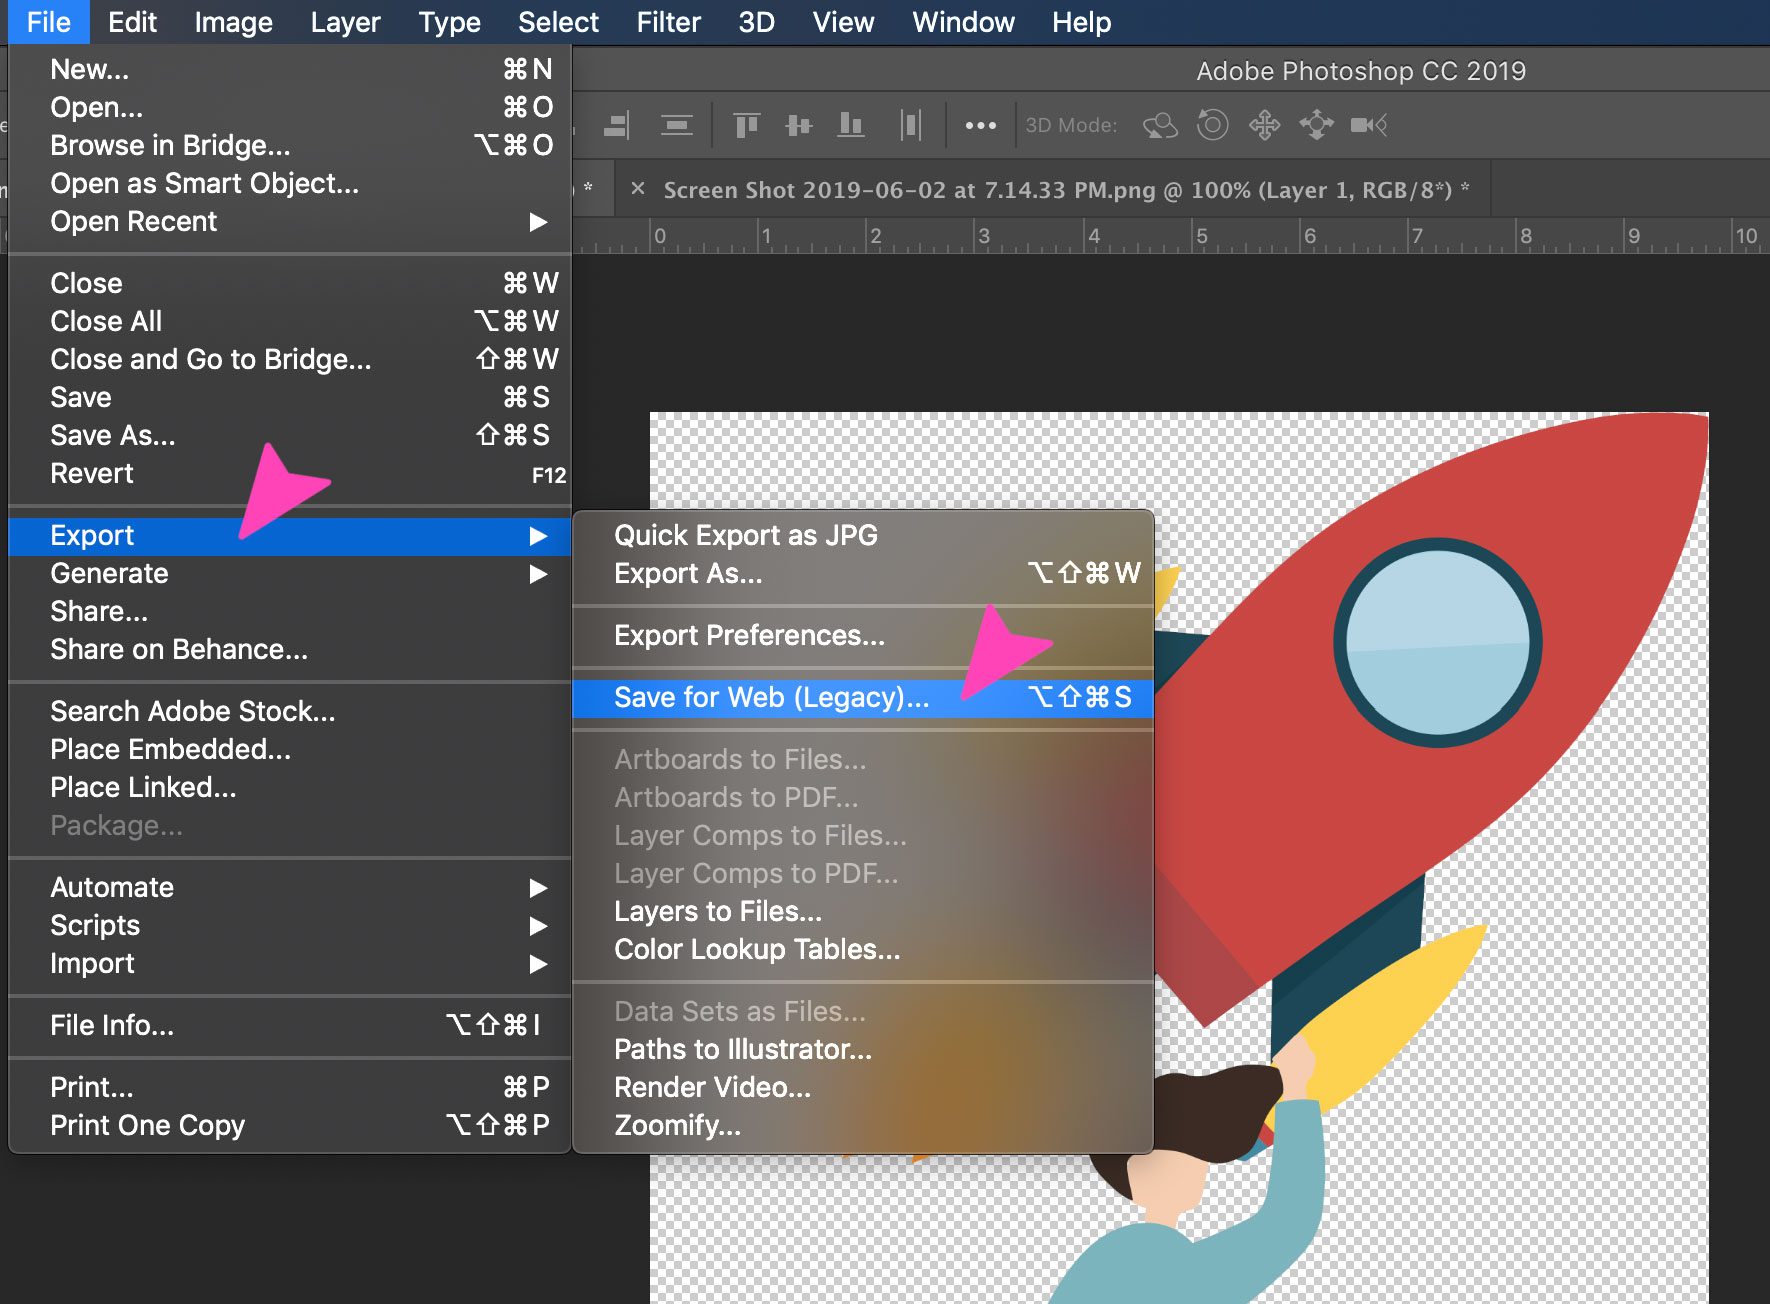
Image source: Elegant Themes
How to Remove White Backgrounds from Hundreds of Images at Once
If you are an e-commerce manager with 500 product photos, manual removal is not an option. Photoshop's Actions and Batch Processing features allow you to automate the AI "Remove Background" tool across an entire folder of images.
Recording a New Action for Automation
Open the Actions panel (Window > Actions) and click the "Plus" icon to create a new action. While recording, perform the following steps: Unlock the layer, click "Remove Background" in the Properties panel, and then save the file as a PNG. Once finished, click the "Stop" button in the Actions panel.
Running the Batch Command
Go to
File > Automate > Batch
. Select the action you just recorded, choose the source folder containing your images, and set a destination folder for the results. Photoshop will then open, process, and save each image automatically, potentially saving you hours of manual labor. This workflow is a significant step forward for high-volume production environments.
Frequently Asked Questions
How do I save an image with a transparent background?
To maintain transparency, you must export your file as a
PNG-24
or a
TIFF
. If you save the image as a JPEG, Photoshop will automatically fill the transparent areas with white because the JPEG format does not support alpha channels (transparency). Use
File > Export > Export As
and ensure "Transparency" is checked in the settings sidebar.
Why is my "Remove Background" button greyed out?
This usually happens for two reasons: either the layer is a
Smart Object
or the image is in
Indexed Color
mode. If it's a Smart Object, right-click the layer and select "Rasterize Layer." If the image is in Indexed mode (common for GIFs), go to
Image > Mode > RGB Color
to enable full editing capabilities.
What is the best way to handle hair or fur on a white background?
For complex edges like hair, use the Select and Mask workspace. Once you have a basic selection, use the Refine Edge Brush Tool (the second icon from the top) to paint over the flyaway hairs. Photoshop will intelligently separate the fine strands from the white background. This is widely regarded as the most effective way to handle organic textures.
Can I remove a white background in Photoshop Express?
Yes, the mobile and web versions of Photoshop Express feature a simplified "Remove Background" tool. While it lacks the advanced refinement options of the desktop version, it is a popular choice for quick social media edits. For professional-grade transparency, however, the desktop version remains the standard.
How do I remove only a specific part of the white background?
Instead of using global tools like "Remove Background," use the
Magic Wand Tool
. Click on the specific white area you want to remove. You can hold
Shift
to add more areas to your selection. Once selected, click the "Add Layer Mask" icon. This allows you to keep white backgrounds in some areas (like inside a product) while removing them elsewhere.
Key Takeaways for Mastering Background Removal
Removing a white background is a blend of automated efficiency and manual precision. By choosing the right tool for the job, you can ensure your images look professional on any backdrop.
- Prioritize AI for speed: Use the "Remove Background" Quick Action for clear subjects to save time.
- Use Channels for logos: This luminosity-based method preserves smooth, anti-aliased edges better than color tools.
- Leverage Blend If for shadows: Split the slider with the Alt/Option key to keep realistic shadows while hiding the white.
- Fix the "Fill" error: Always unlock the Background layer by clicking the lock icon before trying to delete pixels.
- Eliminate halos: Use the "Defringe" command or "Contract Selection" by 1-2 pixels to remove the white fringe.
- Automate high volumes: Record an Action and use the Batch command to process hundreds of images simultaneously.
- Export correctly: Always use PNG-24 to ensure your transparency is preserved for web and design use.
Start by testing the AI Remove Background tool on your next project, and use the Select and Mask workspace to fine-tune any complex edges for a truly seamless result.
-
Topic: How To Easily Remove A White Background In Photoshophttps://www.youtube.com/watch?v=GGUj6Ulzrl8
-
Topic: How can I remove the white background from this image ...https://www.reddit.com/r/PhotoshopTutorials/comments/10osfsm/how_can_i_remove_the_white_background_from_this/
-
Topic: Remove background in your imageshttps://helpx.adobe.com/photoshop/desktop/repair-retouch/remove-objects-fill-space/remove-background-in-your-images.html

How to Blur Your Background in Zoom on Any Device
Learn how to blur your Zoom background on Windows, Mac, and mobile. Fix missing blur options and optimize your video for professional meetings.


How to Take a Photo on a Windows, Mac, or Chromebook Laptop
Learn how to take photos on Windows, Mac, and Chromebook. Fix black screens, find saved files, and improve webcam quality with expert tips.


Where to Find High-Quality Inspirational Wallpapers for Your Phone and Desktop
Download free 4K inspirational wallpapers for iPhone, PC, and Android. Find minimalist, gym, and study backgrounds to boost your daily productivity.